How to Take off the Battery Cover on Beats Headphones: Easy Steps
Removing the battery cover on Beats headphones might seem tricky. But it’s actually simple with the right steps.
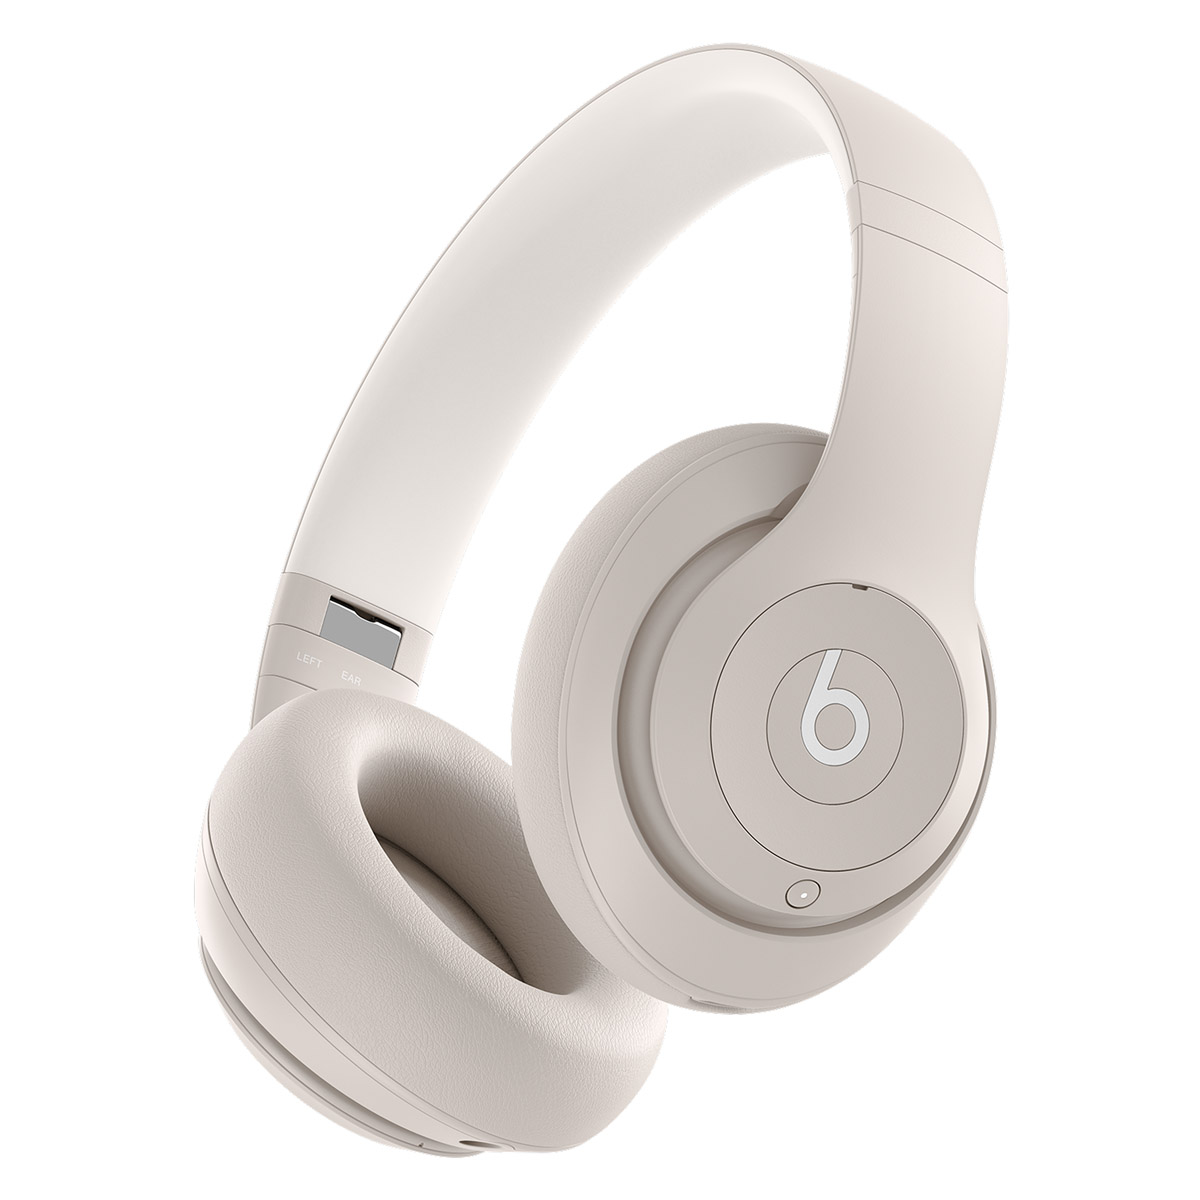
Beats headphones are popular for their sleek design and high sound quality. But sometimes, you need to access the battery compartment. Maybe you need to replace the battery or check for issues. Knowing how to take off the battery cover is essential.
This guide will help you do it safely and easily. Follow these instructions to avoid damaging your headphones. Let’s get started and make this process hassle-free.
Preparation
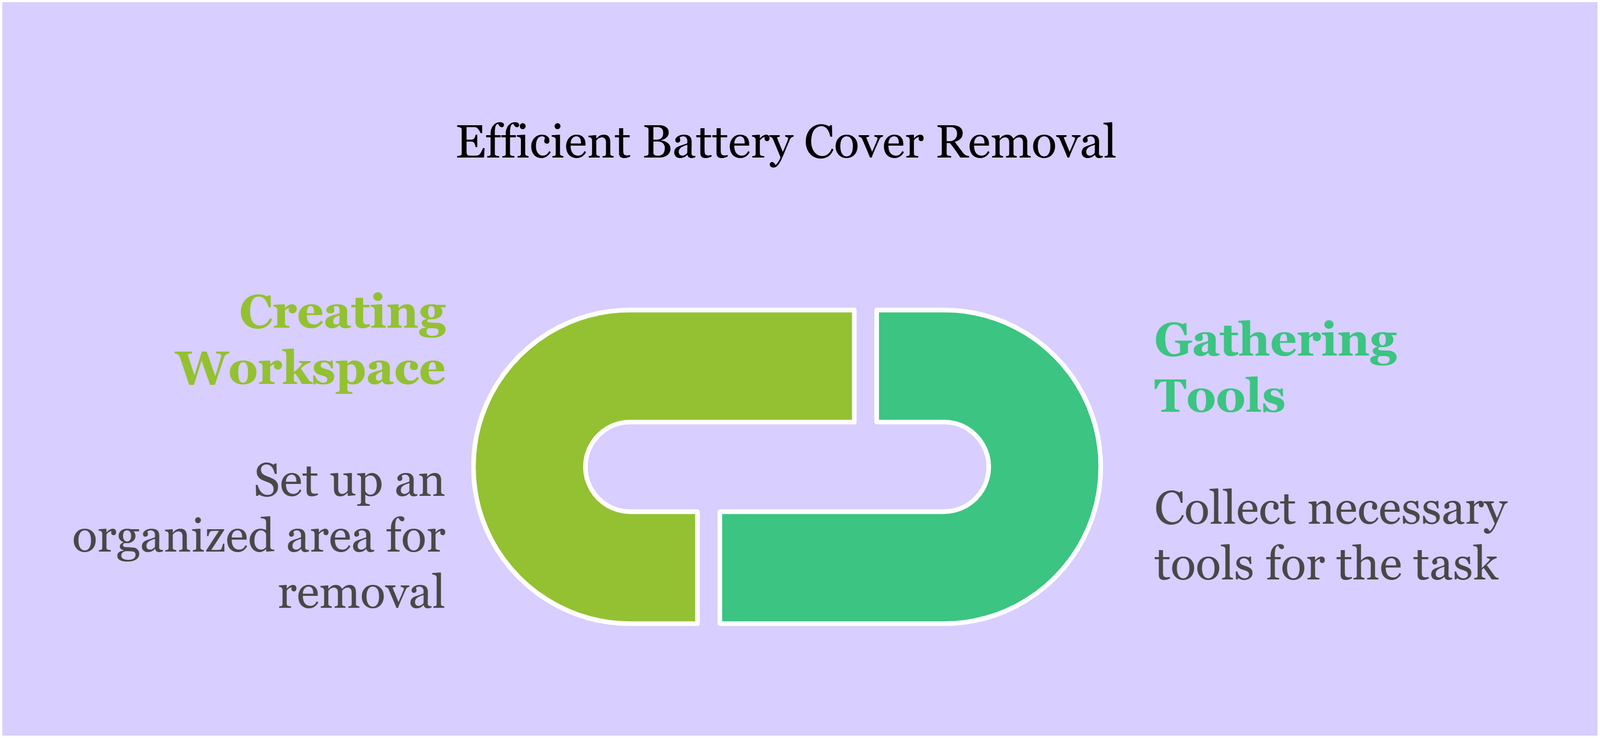
Preparation is key to successfully removing the battery cover from your Beats headphones. Before starting, ensure you have everything you need. This will save time and prevent any damage to your headphones. Let’s break down the preparation steps into two main parts: gathering tools and creating a suitable workspace.
Gather Tools
First, collect the necessary tools. You will need a small Phillips screwdriver. This is crucial for unscrewing the tiny screws on the battery cover. A plastic pry tool is also helpful. It can gently open the cover without scratching your headphones.
Keep a small container nearby. This will hold the screws and prevent them from getting lost. Ensure these tools are within reach before you start. Having everything ready will make the process smoother and quicker.

Create Workspace
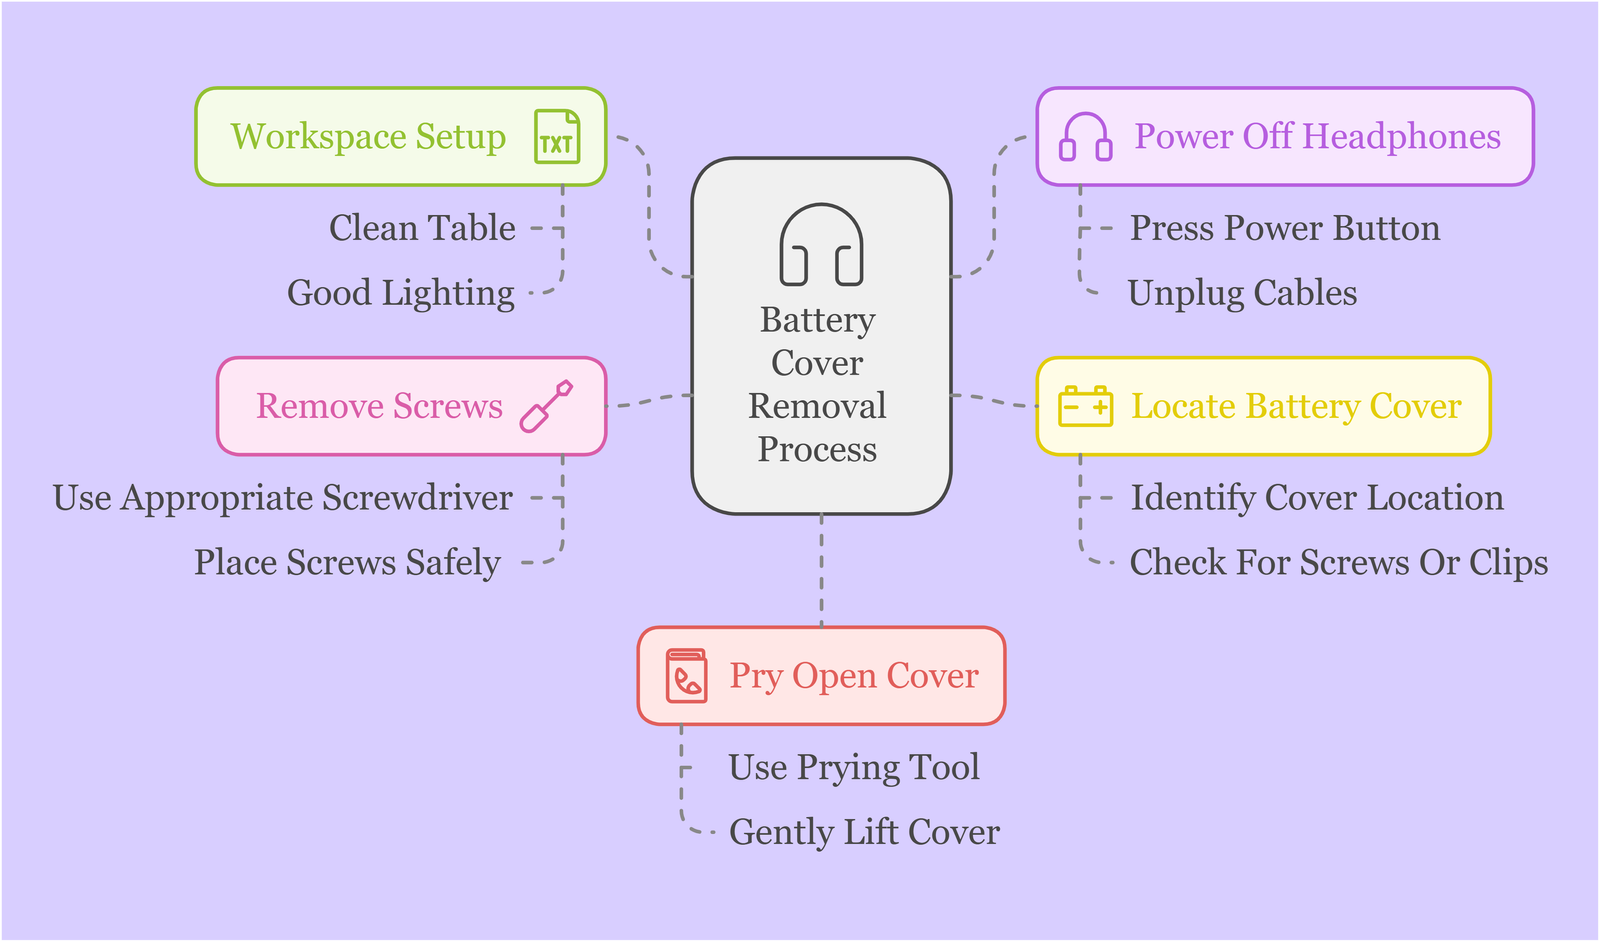
Next, set up a clean and well-lit workspace. A clean table or desk is ideal. Ensure there is enough space to move your hands freely. Good lighting is important. It helps you see the small screws and parts clearly.
A soft cloth or mat on the table can prevent scratches. It also provides a non-slip surface for your headphones. This setup will help you work more comfortably and safely.
Following these preparation steps ensures a smooth and successful process. Now, you are ready to take off the battery cover on your Beats headphones.
Power Off
Before you remove the battery cover on Beats headphones, ensure they are powered off. This step is vital for your safety and to protect your headphones.
Turn Off Headphones
First, locate the power button on your Beats headphones. Press and hold the power button until the LED lights turn off. This confirms that your headphones are now off.
Unplug Any Cables
Next, check for any cables connected to your headphones. Carefully unplug all cables from the headphones. This includes charging cables and audio cables.
Locate Battery Cover
Knowing how to locate the battery cover on your Beats headphones is crucial. This is the first step to changing the batteries. Follow these easy steps to find the battery cover.
Identify Cover Location
First, you need to identify the cover location. The battery cover is usually on the ear cup of the headphones. Look for a small, removable panel. This is often where the battery is housed. The cover may blend in with the design. Pay close attention to the edges and seams.
Check For Screws Or Clips
Now that you have identified the cover, check for screws or clips. Some models have tiny screws that need removing. Use a small screwdriver for this task. Other models might use clips. These clips can be gently pried open with a flat tool. Be careful not to damage the plastic.

Remove Screws
Removing the screws is a crucial step when taking off the battery cover on Beats headphones. This process requires the right tools and a bit of patience. Follow the steps below to ensure you do it correctly.
Use Appropriate Screwdriver
First, you need the correct screwdriver. Beats headphones usually have small screws. A precision screwdriver set works best. Use the right size to avoid damaging the screws. Check if the screws are Phillips or flathead.
Place Screws Safely
After loosening the screws, keep them in a safe place. A small container or magnetic tray works well. This prevents losing any screws. Remember, these screws are tiny and easy to misplace. Store them carefully until you need them again.
Pry Open Cover
Gently pry open the battery cover on Beats headphones using a thin tool. Carefully lift the cover to access the battery compartment.
Taking off the battery cover on Beats headphones can seem tricky. But with the right tools and a bit of patience, it’s simple. Let’s break it down step by step.
Use Prying Tool
First, grab a prying tool. A plastic tool works best. Metal tools can scratch the surface. Make sure the tool is clean and smooth.
Gently Lift Cover
Insert the prying tool into the gap around the cover. Apply gentle pressure. Slowly lift the cover. Work your way around the edges. Be patient and gentle. Forcing it can cause damage. Repeat this process until the cover is loose. Make sure to keep the tool steady. Once the cover is off, you can access the battery. Your Beats headphones are ready for a battery replacement. “`
Detach Battery
Removing the battery from your Beats headphones might seem tricky. But with the right steps, it’s simple. Follow this guide to safely detach the battery. Let’s begin with locating and disconnecting the battery connector.

Locate Battery Connector
First, find the battery connector inside the headphone. It is usually near the bottom part. You might see a small wire or cable. This connects the battery to the headphones.
Disconnect Carefully
Next, you need to disconnect the battery connector. Be gentle. Use a small tool if needed. Avoid pulling too hard. This can damage the connector or wires.
Disconnecting the battery is a key step. It ensures the safety of the device. Always handle the battery with care. Safety is the priority.
Inspect Components
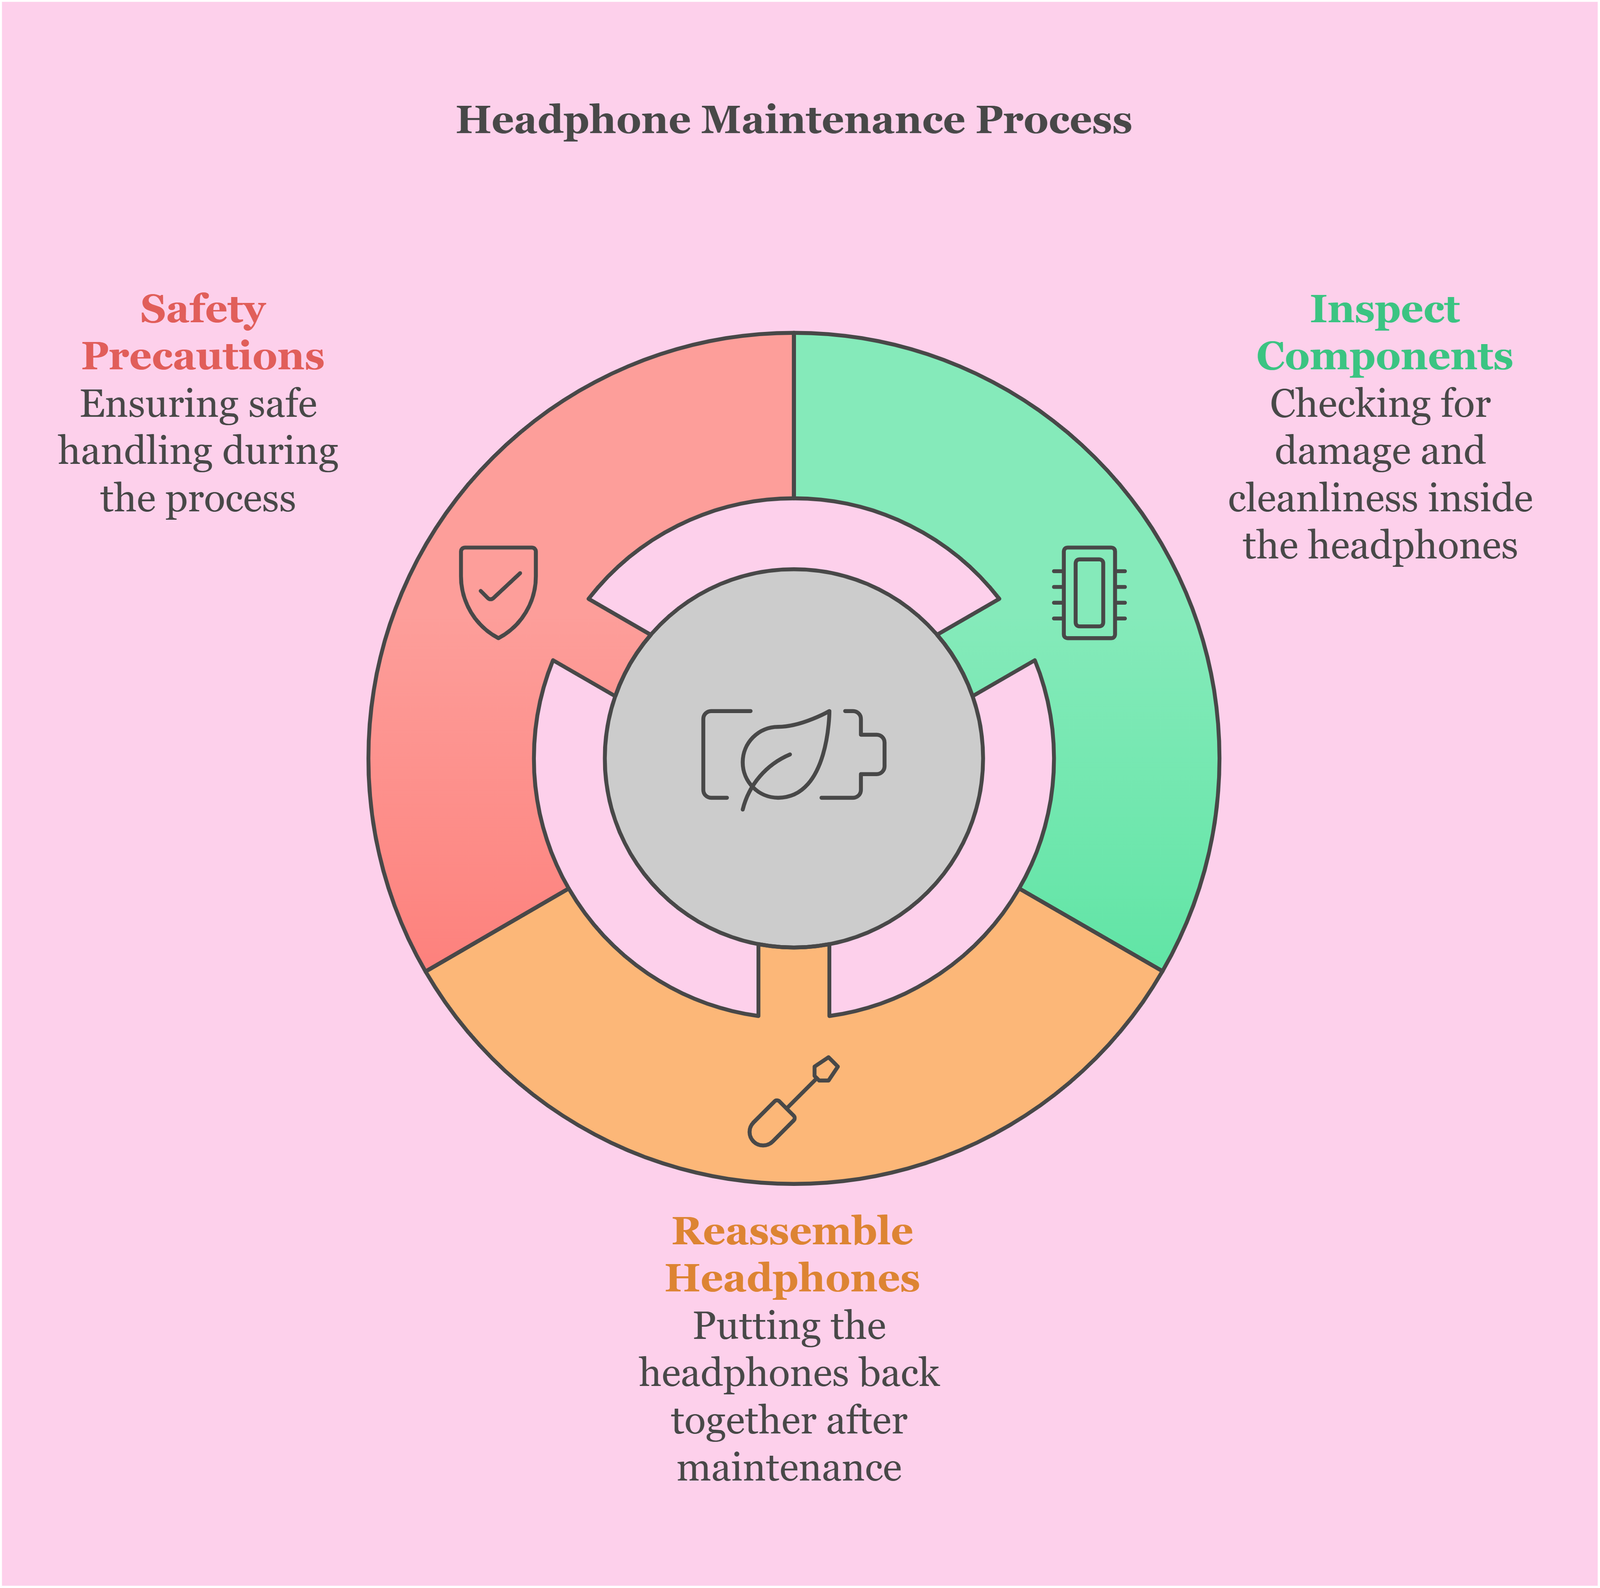
After successfully removing the battery cover of your Beats headphones, it’s crucial to inspect the internal components. This step ensures the headphones work properly. It also helps identify any issues that might affect performance. Let’s dive into what you need to check.
Check For Damage
Look closely at the battery compartment. Are there any cracks or signs of wear? Damaged parts can cause connection issues. Also, check the battery itself. Is it swollen or leaking? Replace any damaged batteries immediately.
Clean Contacts
Examine the metal contacts inside the battery compartment. Dirt or corrosion can interfere with power flow. Use a soft cloth to clean them. A little rubbing alcohol can help remove stubborn grime. Ensure the contacts are dry before placing the battery back. Clean contacts improve performance and extend the life of your headphones.
Reassemble Headphones
After removing the battery cover on your Beats headphones and performing the necessary maintenance or replacement, it is crucial to reassemble them properly. This ensures that your headphones function correctly and remain protected. Follow these steps to reconnect the battery and secure the cover with screws.
Reconnect Battery
First, locate the battery connector inside the headphone compartment. Align the battery’s connector with the socket. Gently press the connectors together until they click into place. Be careful not to force the connection, as this may damage the connectors.
Once connected, ensure the battery is seated properly within its compartment. This prevents any movement that could disrupt the connection. Double-check the alignment before proceeding to the next step.
Secure Cover With Screws
After reconnecting the battery, it’s time to secure the cover. Align the battery cover with the headphone body. Make sure all screw holes are aligned. Start by inserting the screws into the holes. Use a small screwdriver to tighten each screw.
Tip: Tighten the screws in a crisscross pattern. This ensures even pressure distribution and a snug fit. Do not overtighten, as this may strip the screws or damage the cover.
Once all screws are in place and tightened, give the cover a gentle press to ensure it is securely attached. Reassembly is complete, and your Beats headphones are ready for use again.

Test Functionality
After successfully removing the battery cover from your Beats headphones, the next step is to test functionality. This ensures your headphones are working as expected. Below are steps to help you test their functionality efficiently.
Power On Headphones
To begin, power on your headphones. Press and hold the power button until the LED light blinks. This action confirms that your battery is correctly installed and the cover is secure.
Check For Issues
Once powered on, it’s crucial to check for any issues. Here’s a simple checklist to follow:
- Play some music to test the sound quality.
- Ensure both ear cups produce sound.
- Test the volume buttons for functionality.
- Check if the headphones connect to Bluetooth devices easily.
If you find any problems, re-examine the battery installation. Ensure the cover is tightly secured. If issues persist, consider consulting the user manual or contacting customer support.
Frequently Asked Questions
How Do You Remove The Battery Cover On Beats Headphones?
To remove the battery cover, locate the seam on the earcup. Gently pry it open using your fingers or a thin tool.
Can I Replace The Battery Cover On Beats Headphones?
Yes, you can replace the battery cover. Ensure you purchase a compatible replacement cover for your Beats model.
Do All Beats Headphones Have Removable Battery Covers?
Not all Beats headphones have removable battery covers. Check your specific model’s manual for detailed instructions.
What Tools Do I Need To Remove The Battery Cover?
Typically, you only need your fingers or a thin prying tool. Be gentle to avoid damage.
Conclusion
Removing the battery cover on Beats headphones is simple with the right steps. Follow the guide carefully to avoid damage. Practice makes it easier each time. Keep your headphones in good shape by handling them gently. Always store them properly to extend their life.
Now, you can enjoy your music without any battery worries. Try these steps, and you’ll become more confident. Happy listening!
