How to Get Rid of Oil Marks on Sony Headphones: Expert Tips
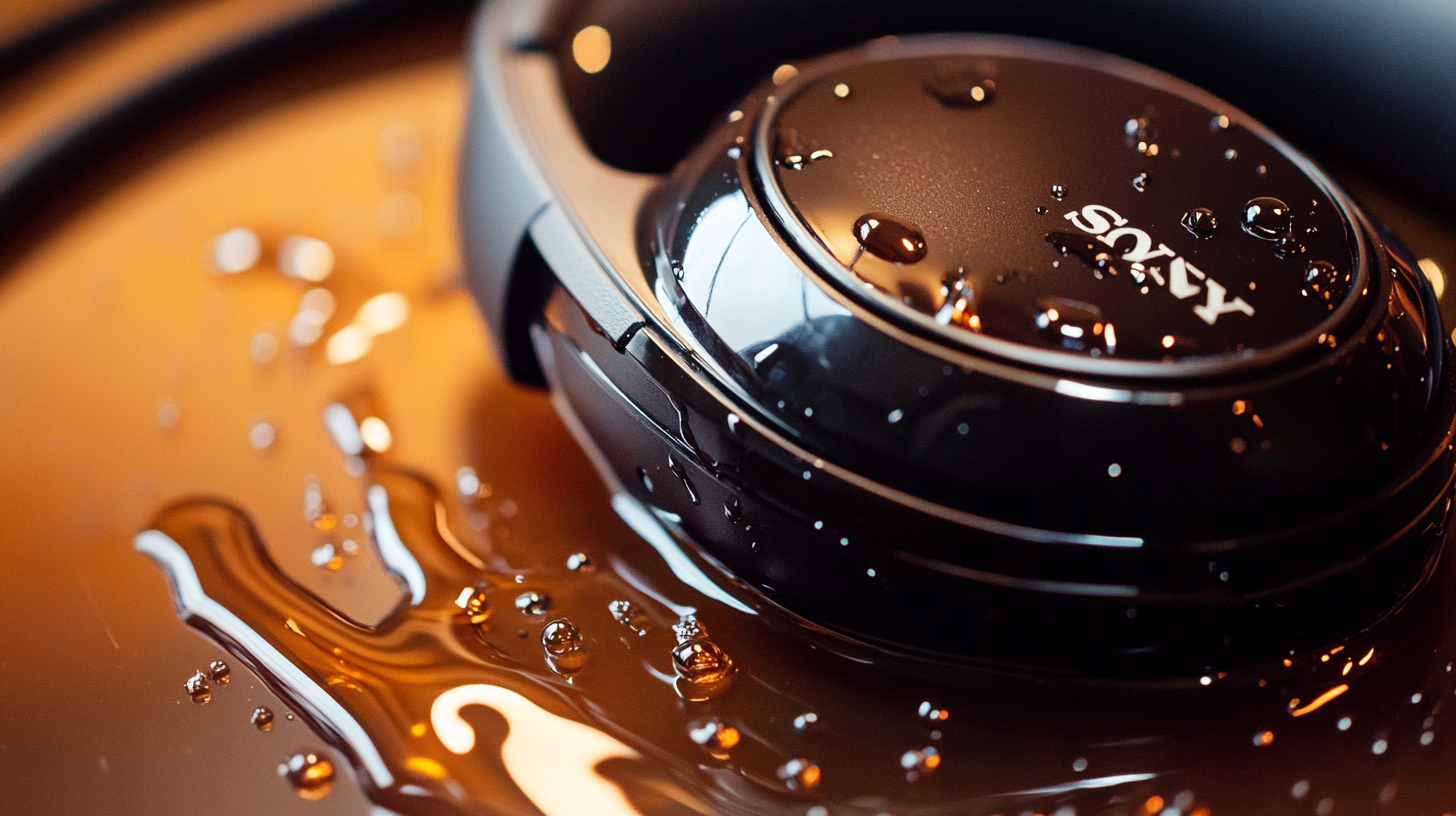
Oil marks on Sony headphones can be annoying. They affect the look and feel.
But don’t worry, there are simple ways to remove them. Sony headphones are popular for their quality and style. Yet, frequent use can leave them with oil marks. These marks come from our skin’s natural oils. Over time, they can build up and make headphones look dirty.
Cleaning your headphones properly will keep them looking new and working well. In this guide, we will show you easy methods to get rid of oil marks. These tips are safe and effective. They will help your headphones stay in top condition. Keep reading to find out how to clean your headphones quickly and easily.
Preparation Before Cleaning
Before you begin cleaning your Sony headphones, it’s important to prepare. Proper preparation ensures you won’t damage your headphones. Following these steps will make the cleaning process easier and more effective.
Gather Necessary Supplies
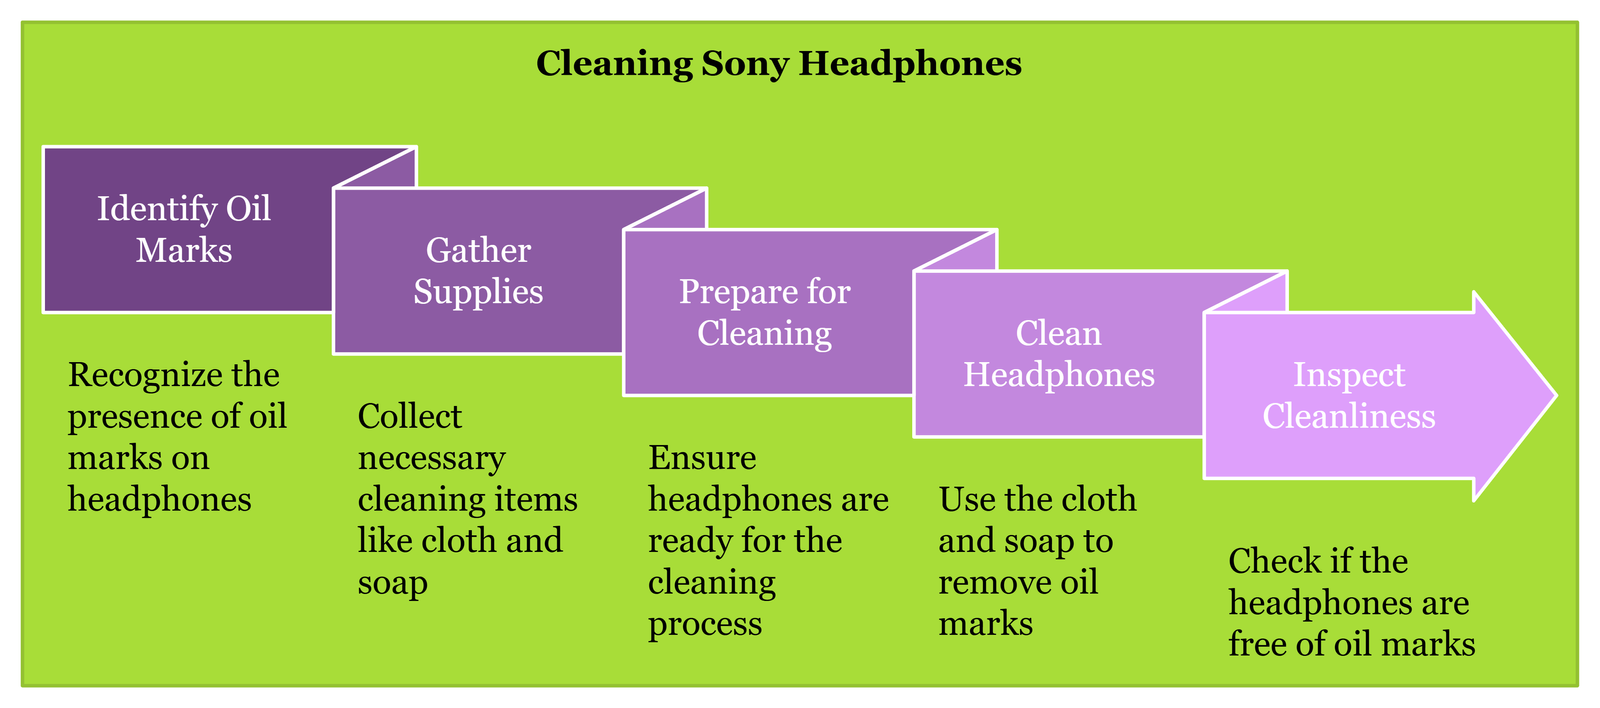
First, gather all the supplies you’ll need. This will save time and make the process smoother. You’ll need a soft cloth, mild soap, and water. Avoid using harsh chemicals. These can damage the headphones. Also, grab a small brush. This helps to clean hard-to-reach areas.
Power Off And Unplug Headphones
Before cleaning, power off your headphones. This prevents any electrical damage. Unplug them from any connected devices. This ensures safety and avoids potential short circuits. Double-check to make sure they are completely off and unplugged. Now, you’re ready to start cleaning.
Choosing The Right Cleaning Products
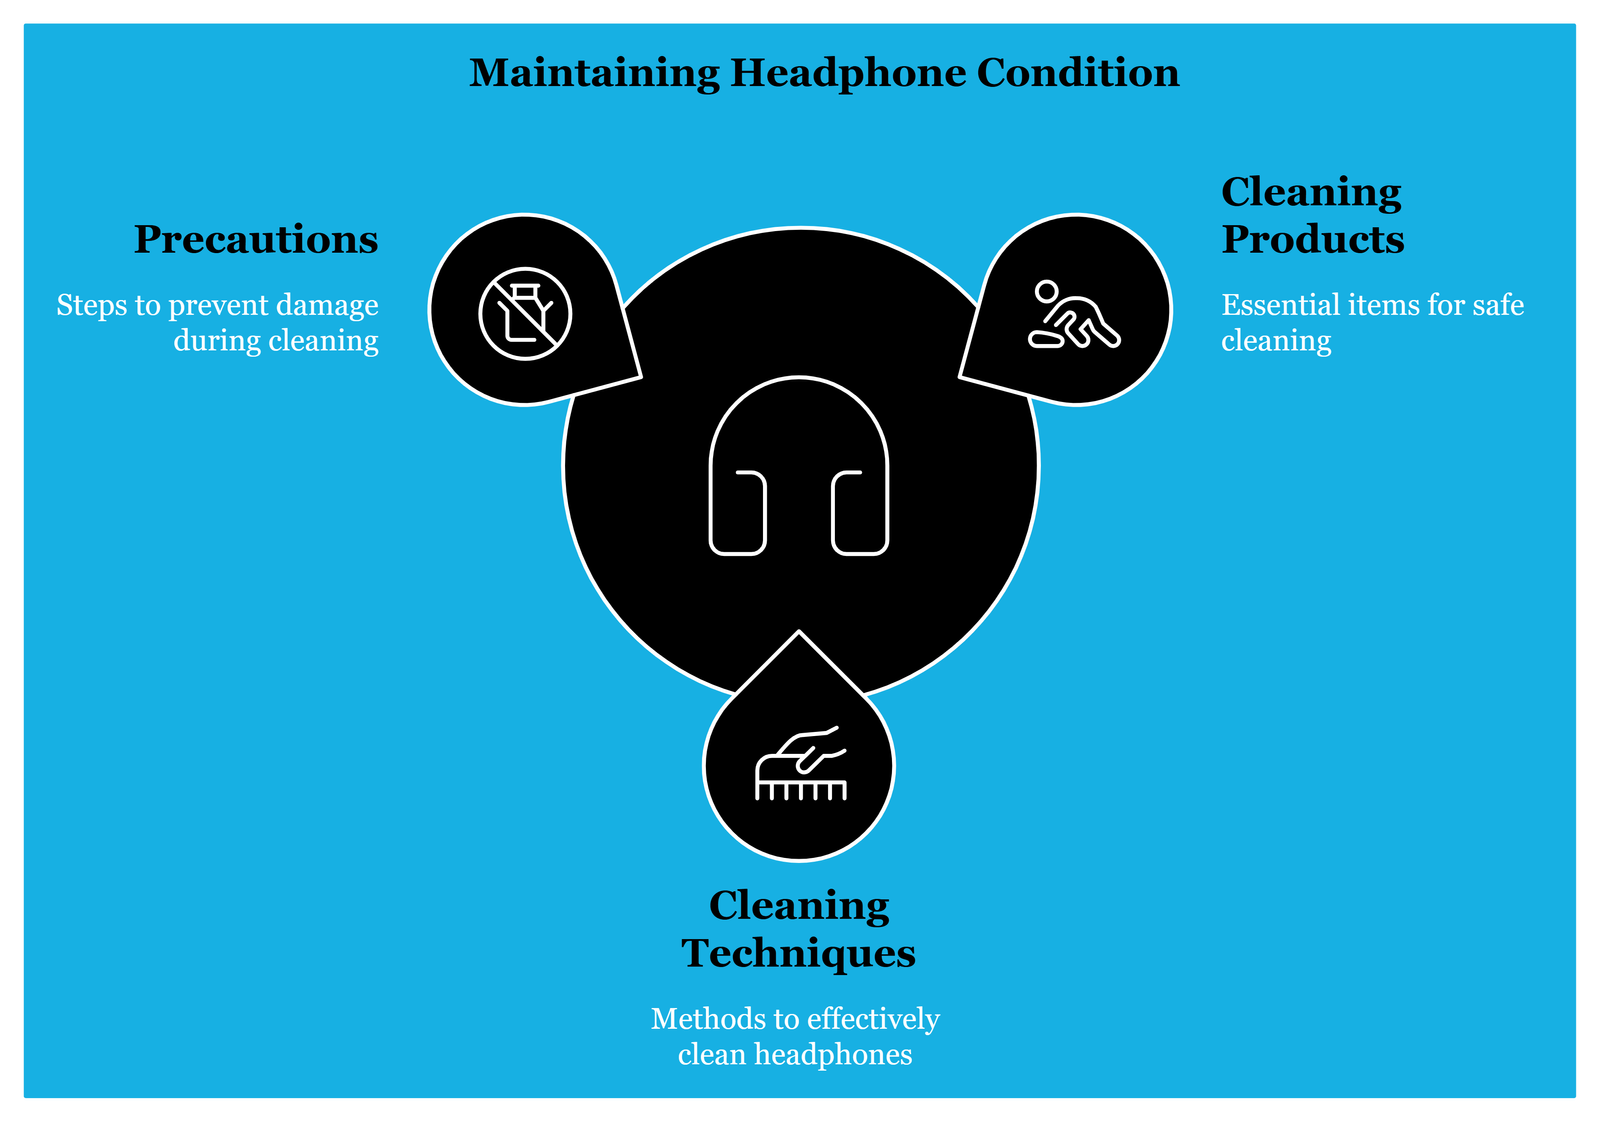
Choosing the right cleaning products for your Sony headphones is crucial. Using the wrong products can damage the material and affect sound quality. Below, we have outlined some recommended cleaning agents and products to avoid. Follow these tips to keep your headphones in top condition.
Recommended Cleaning Agents
Use a microfiber cloth to gently wipe away oil marks. This type of cloth is soft and won’t scratch your headphones. For more stubborn marks, a small amount of isopropyl alcohol works well. Dampen the cloth with the alcohol and gently rub the affected area. Baby wipes are another good option. They are gentle and effective at removing oil.
Products To Avoid
Avoid using harsh chemicals like bleach or ammonia. These can damage the materials of your headphones. Do not use abrasive cleaning tools such as scrubbing pads. They can scratch and damage the surface. Also, avoid soaking your headphones in water. Excess moisture can affect the electronic components inside.
Cleaning The Headband
Cleaning the headband of your Sony headphones is essential for maintaining their appearance and hygiene. Oil marks can accumulate over time, making the headband look dirty and worn. This section will guide you through the process of cleaning the headband effectively.
Applying Cleaner
First, choose a mild cleaner suitable for synthetic materials. Avoid harsh chemicals. Dampen a soft cloth with the cleaner. Do not soak it. Gently apply the cleaner to the headband. Focus on the areas with oil marks.
Wiping Down Effectively
Use a dry, soft cloth to wipe down the headband. Start from one end and work your way to the other. Make sure to remove all cleaner residue. Pay extra attention to the seams and edges. These areas can trap dirt and oil.
Repeat the process if necessary. If oil marks persist, you may need to apply cleaner again. Always use gentle, circular motions. This helps to lift the oil without damaging the material.
Cleaning The Ear Cushions
Cleaning the ear cushions of your Sony headphones is essential. It helps maintain the sound quality and comfort. Also, it prevents oil marks from accumulating. Follow these easy steps to keep your ear cushions clean and fresh.
Removing Cushions
Start by removing the ear cushions from your Sony headphones. Gently pull the cushions away from the ear cups. This will expose the inner parts of the headphones. Be careful not to damage any parts.
Detailed Cleaning Process
Once the cushions are removed, follow this detailed cleaning process:
- Fill a bowl with warm water.
- Add a small amount of mild soap.
- Dip a soft cloth or sponge into the soapy water.
- Gently scrub the ear cushions using the cloth or sponge.
- Pay extra attention to areas with oil marks.
- Rinse the cloth or sponge with clean water.
- Wipe off any soap residue from the cushions.
- Let the cushions air dry completely before reattaching them.
For deeper cleaning, consider using a toothbrush. A soft-bristled toothbrush can help remove stubborn oil marks. Gently brush the cushions in a circular motion. Avoid soaking the cushions, as excessive moisture can damage them.
If your cushions have a removable fabric cover, wash the cover separately. Use a gentle detergent and follow the manufacturer’s instructions. This will help keep the fabric cover in good condition.
Regularly cleaning your ear cushions will keep your Sony headphones looking new. It will also ensure a comfortable listening experience.
Cleaning The Outer Shell
Keeping the outer shell of your Sony headphones clean is essential. It helps maintain their sleek look and ensures they last longer. Oil marks and fingerprints can make them look old and worn out. Here’s how you can clean the outer shell efficiently.
Using Microfiber Cloth
A microfiber cloth is gentle yet effective. It can remove oil marks without scratching the surface. Follow these steps:
- Turn off your headphones to avoid any accidental damage.
- Gently wipe the outer shell with a dry microfiber cloth.
- If the oil marks are stubborn, slightly dampen the cloth with water.
- Wipe the surface again, ensuring it is not too wet.
- Let the headphones air dry completely before use.
Using a microfiber cloth regularly helps keep your headphones clean.
Polishing For Shine
Polishing the shell can restore the original shine. It also helps in removing any remaining marks. Here’s how to do it:
- Choose a gentle, non-abrasive polish suitable for electronic devices.
- Apply a small amount of polish to a clean microfiber cloth.
- Gently rub the polish onto the outer shell in circular motions.
- Buff the surface with a dry part of the cloth to remove excess polish.
Polishing once a month can keep your Sony headphones looking new. Avoid using harsh chemicals as they can damage the finish.
Drying And Reassembling
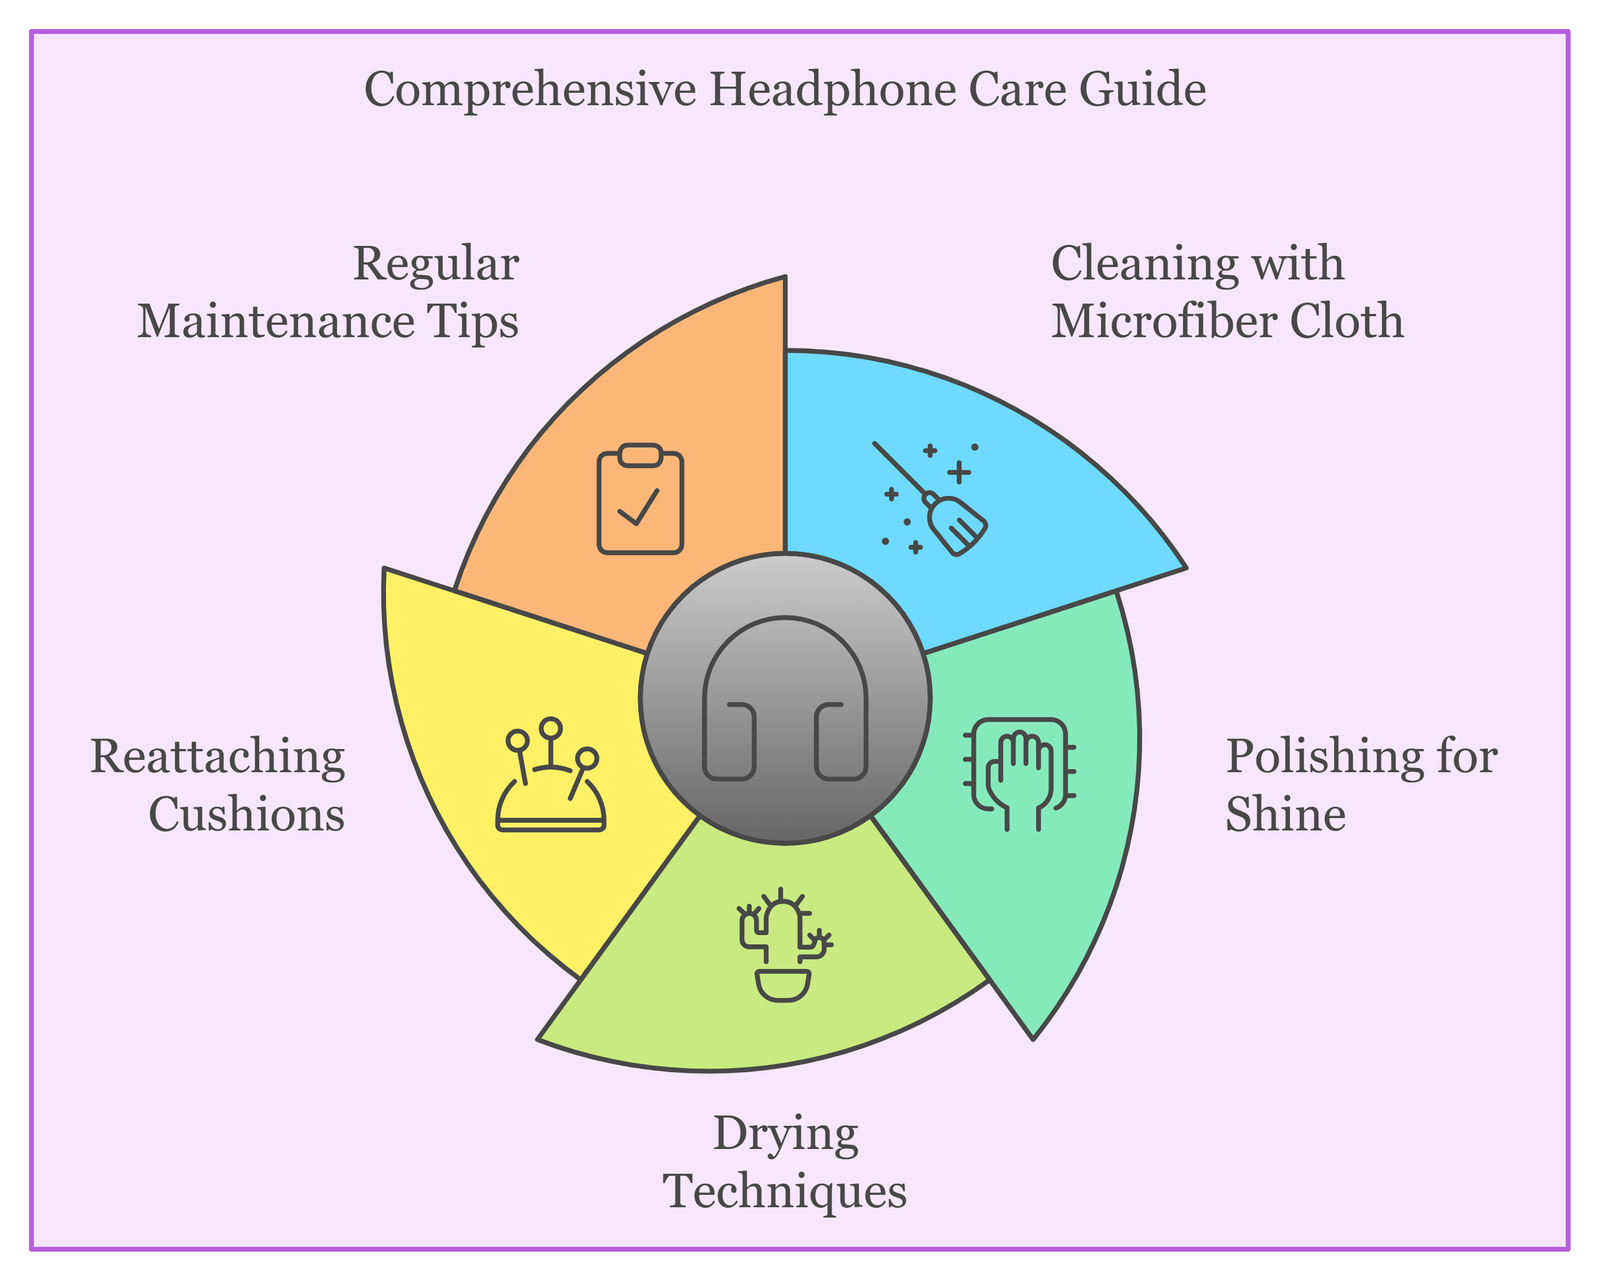
Drying and reassembling your Sony headphones is a critical step. After cleaning, it’s important to ensure everything is dry before reattaching any parts. This helps to avoid damage and ensures your headphones work properly.
Air Drying Techniques
Allow the parts of your headphones to air dry. Place them on a clean, dry cloth. Keep them in a well-ventilated area. Avoid direct sunlight as it may cause damage. Ensure all moisture is gone before reassembling.
Reattaching Cushions
Once everything is dry, start reattaching the cushions. Align the cushion with the headphone frame. Gently press and snap it into place. Make sure it is secure and evenly attached. Repeat the process for the other cushion. Your headphones should now look as good as new.
Maintenance Tips
Maintaining your Sony headphones in top condition ensures their longevity. Regular care prevents oil marks and keeps them looking new. Here are some maintenance tips to help you.
Regular Cleaning Schedule
Set a regular cleaning schedule for your headphones. Wipe them down after each use. Use a soft, lint-free cloth. This prevents oil buildup. Avoid using harsh chemicals. They can damage the surface. Mild soap and water work best. Dry the headphones thoroughly after cleaning.
Storage Recommendations
Proper storage is crucial. Store your headphones in a case. This protects them from dust and oil. Keep them in a cool, dry place. Avoid leaving them in direct sunlight. Heat can damage the material. Always unplug and fold them properly. This prevents wear and tear.
Troubleshooting Persistent Stains
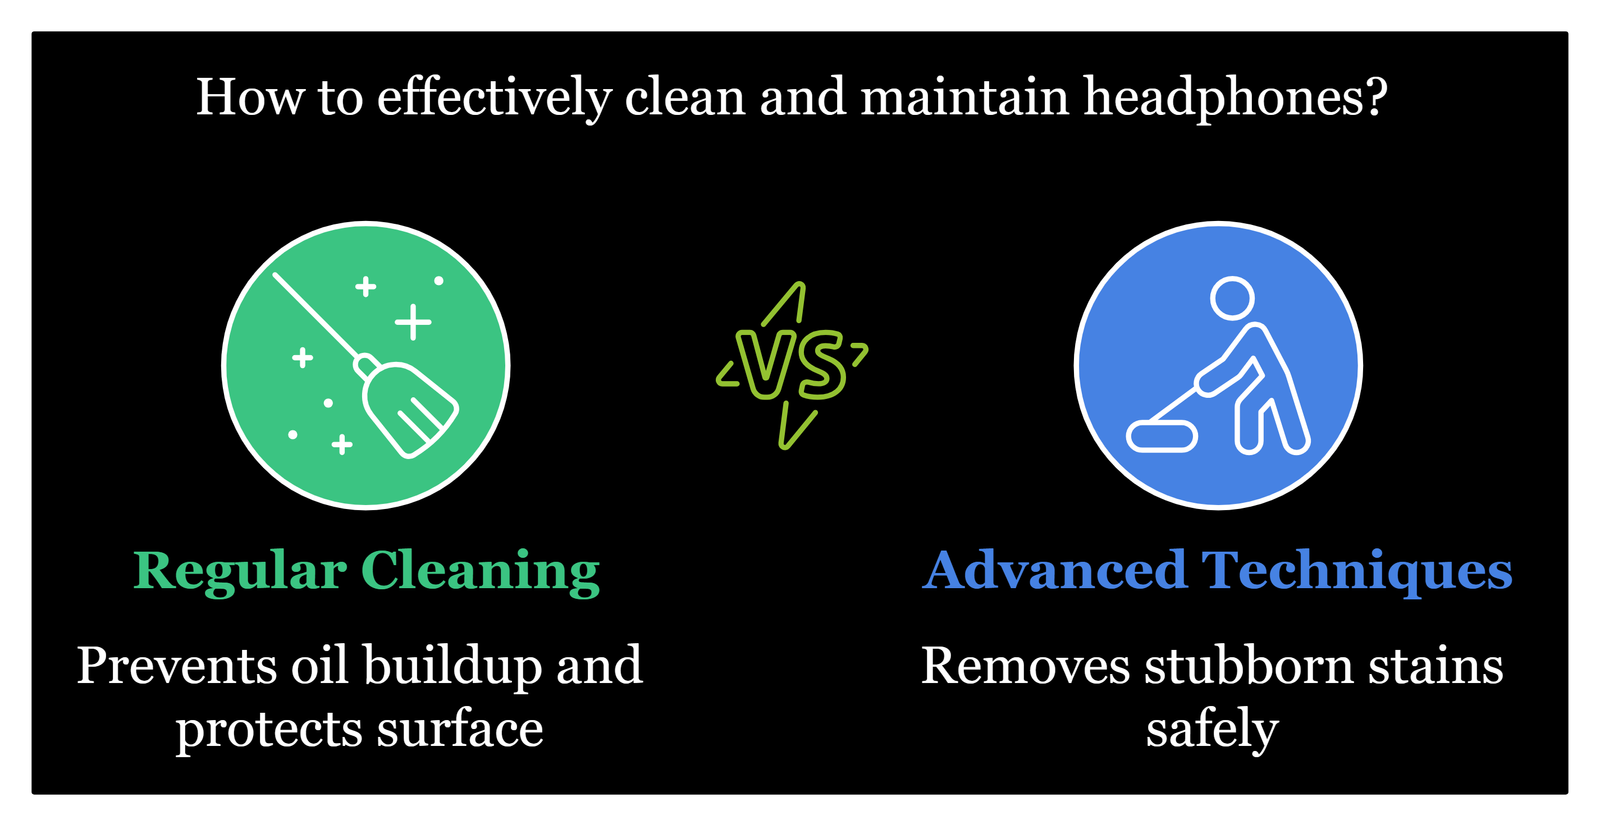
Oil marks on Sony headphones can be a nuisance. Despite your best efforts, some stains may persist. In such cases, it’s important to have a few advanced techniques up your sleeve.
Advanced Cleaning Methods
For stubborn oil marks, try using isopropyl alcohol. Dampen a cotton swab with the alcohol. Gently rub the affected areas. Avoid soaking the headphones. Excess moisture can damage electronic components.
An alternative method involves using a mild dish soap solution. Mix a few drops of dish soap with water. Dip a soft cloth into the solution. Wring out excess water. Gently wipe the oil marks. Rinse the cloth with clean water. Wipe the headphones again to remove soap residue.
Another effective technique is using a magic eraser. Lightly dampen the eraser with water. Rub the oil marks gently. Be cautious not to apply too much pressure. This can cause wear on the headphones.
When To Seek Professional Help
If the oil marks persist despite your efforts, consider professional cleaning. Experts have specialized tools. They can remove stubborn stains without damaging your headphones.
Also, seek help if you notice any damage during cleaning. Professionals can assess the issue and offer solutions. This ensures your headphones remain in good condition.
Persistent oil marks may indicate a need for deeper cleaning. Professionals can take apart your headphones. They can clean internal components safely. This thorough approach can prolong the life of your headphones.
Frequently Asked Questions
How To Clean Oil Marks On Sony Headphones?
To clean oil marks, use a microfiber cloth. Dampen it slightly with water. Gently wipe the headphones. Avoid harsh chemicals.
Can I Use Alcohol To Clean Sony Headphones?
Using alcohol is not recommended. It can damage the headphone materials. Stick to a damp cloth for cleaning.
What Household Items Can Remove Oil Stains?
Microfiber cloths and mild soap work well. Use water to dampen the cloth. Gently rub the oil stains.
Are There Cleaning Kits For Sony Headphones?
Yes, specialized cleaning kits are available. They include safe cleaning solutions and tools. Always follow the manufacturer’s instructions.
Conclusion
Achieving clean, oil-free Sony headphones is simple. Regular maintenance is key. Use a microfiber cloth and gentle cleaner. Avoid harsh chemicals to protect your headphones. Consistent care keeps them looking new. Follow these easy steps for best results. Enjoy your spotless, well-maintained headphones.
Keep listening in style and comfort.

