
How to Disable Auto Switching of Headphones on Mac: Quick Guide
Tired of your Mac auto-switching your headphones? You’re not alone.
This can be frustrating, especially during important calls or while listening to music. Apple’s auto-switching feature aims to make life easier, but sometimes it does the opposite. It automatically connects your headphones to the nearest device. This can be disruptive and annoying.
Learning how to disable this feature can save you from unexpected interruptions. In this guide, we will walk you through the simple steps to take control of your headphones. Whether you are a tech newbie or a Mac pro, these instructions will help you regain control over your audio devices. Ready to make your Mac work the way you want? Let’s get started.
Understanding Auto Switching
Auto switching of headphones on a Mac can be both a blessing and a curse. It helps when you want to switch quickly between devices. But it can become annoying if your Mac keeps switching your headphones at the wrong time. Let’s dive into what auto switching is and why it happens.
What Is Auto Switching?
Auto switching is a feature that automatically connects your headphones to the device you are currently using. This happens without you needing to do anything. It aims to make your life easier by removing the need to manually connect your headphones each time.
Why It Happens
This feature is designed for convenience. Apple wants to ensure that your headphones are always connected to the device you’re using. It uses Bluetooth technology to detect which device you are interacting with most. Then it switches your headphones to that device.
Sometimes, this feature can become a nuisance. For example, you might be watching a video on your iPhone. Then, you receive a call on your Mac. The headphones will switch to the Mac, interrupting your video. This is why some people prefer to disable auto switching.
Preparing Your Mac
Preparing your Mac is the first step to disable auto-switching of headphones. Ensuring your system meets the necessary requirements is crucial. This process involves checking your macOS version and software updates. Following these steps can make the process smooth and effective.
System Requirements
To begin, make sure your Mac meets the system requirements. Your Mac should run macOS Big Sur or later. This feature is available only in the newer macOS versions. Older versions do not support it.
Ensure your headphones are compatible. Most newer models support this feature. Check the manufacturer’s website for compatibility details. Using the latest headphones ensures a smoother experience.
Checking Software Version
Check your Mac’s software version. Click on the Apple menu in the top-left corner. Select “About This Mac” from the dropdown menu. A window will appear showing your macOS version. Ensure it is Big Sur or later.
If your macOS version is older, update your system. Click “Software Update” in the “About This Mac” window. Follow the on-screen instructions to install the latest updates. Keeping your software updated is essential for new features.
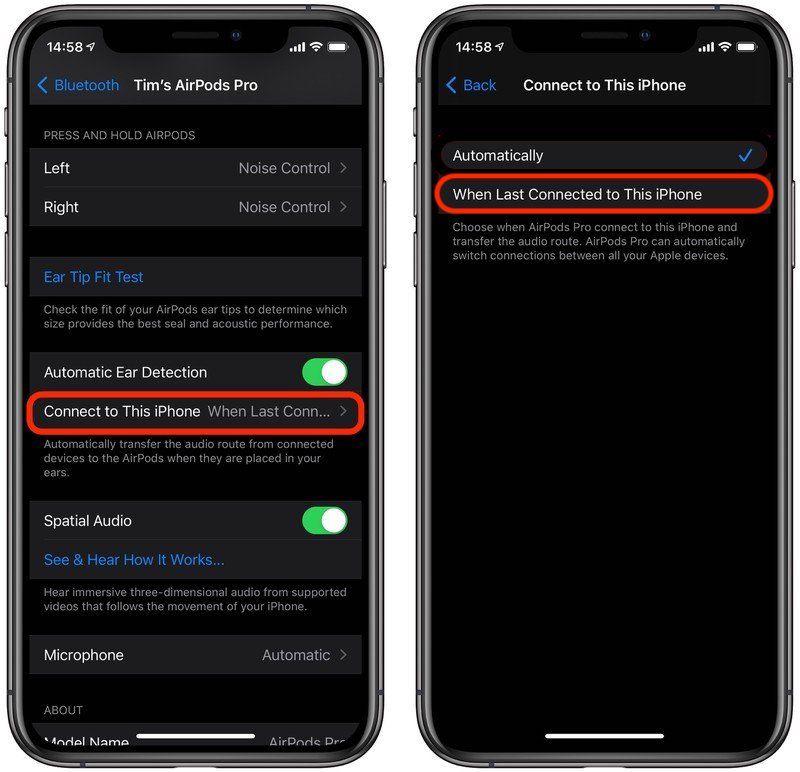
Disabling Auto Switching Via System Preferences
Disabling the auto switching feature on your Mac can be crucial. This feature can be annoying if you use headphones often. Thankfully, you can turn it off via System Preferences. Follow these easy steps to regain control of your audio settings.
Accessing System Preferences
First, open System Preferences. You can find it in the Apple menu. Click the Apple logo in the top-left corner. Select “System Preferences” from the drop-down menu. This will open a new window with various icons.
Navigating To Sound Settings
Next, locate the “Sound” icon. It looks like a speaker. Click on it to open the sound settings. This area controls all audio-related settings on your Mac.
Disabling Auto Switching
In the Sound settings window, click on the “Output” tab. This tab shows all available audio devices. Find your headphones in the list. Click to select them.
Below the device list, look for a checkbox labeled “Automatically switch to this device.” Uncheck this box. This action will stop your Mac from auto-switching to your headphones.
Close the System Preferences window. Your changes are now saved. Your headphones will no longer switch automatically. Enjoy a more stable audio experience.
Using Terminal Commands
Disabling auto switching of headphones on your Mac can be done using Terminal commands. This method is efficient and effective for users comfortable with command-line interfaces. Follow these steps to disable the auto switching feature using Terminal commands.
Opening Terminal
First, you need to open the Terminal application on your Mac. You can find Terminal in the Applications folder under Utilities, or you can use Spotlight Search:
- Press Command + Space to open Spotlight Search.
- Type Terminal and press Enter.
Executing Commands
After opening Terminal, you need to enter specific commands to disable the auto switching feature. Follow these steps:
- Type the following command to list the audio devices:
system_profiler SPAudioDataType - Find your headphone device in the list.
- Use the following command to disable auto switching:
sudo defaults write com.apple.BluetoothAudioAgent "AutoSwitch" -bool false - Press Enter and provide your admin password when prompted.
These commands will disable the auto switching feature for your headphones.
Verifying Changes
To ensure the changes have taken effect, you can verify the settings:
- Reopen Terminal if it is closed.
- Use the following command to check the current setting:
defaults read com.apple.BluetoothAudioAgent - Look for the “AutoSwitch” value. It should now be set to false.
If the value is false, the auto switching feature is disabled successfully. You can now enjoy uninterrupted listening with your headphones.
Third-party Applications
Are you tired of your Mac automatically switching between audio devices? Sometimes, third-party applications can help solve this problem. These apps give you more control over your audio settings. Below are some recommended apps, an installation guide, and configuration steps.
Recommended Apps
Here are a few third-party applications that can help you disable auto switching of headphones on your Mac:
- AudioSwitcher: A simple app that lets you control your audio devices.
- SoundSource: Offers advanced audio controls and device management.
- SwitchAudio: Allows easy switching between audio inputs and outputs.
Installation Guide
Follow these steps to install a third-party application:
- Visit the official website of the app you choose.
- Download the installation file.
- Open the downloaded file and follow the on-screen instructions.
- Drag the app to the Applications folder.
- Launch the app from the Applications folder.
Configuration Steps
After installing the app, configure it by following these steps:
- Open the installed app.
- Navigate to the settings or preferences menu.
- Look for an option related to audio device switching.
- Disable the auto-switching feature.
- Save your changes.
These simple steps can help you gain control over your Mac’s audio settings.
Troubleshooting Common Issues
Experiencing issues with your Mac’s auto-switching headphone feature can be frustrating. Sometimes, even after changing the settings, the problem persists. Troubleshooting these common issues can help you find a solution.
Reverting Changes
If your changes did not take effect, try reverting them. Follow these steps:
- Open System Preferences.
- Click on Sound.
- Select the Output tab.
- Choose your headphones from the list.
- Uncheck the Automatically switch to headphones option.
Restart your Mac and check if the issue is resolved.
Resetting Sound Preferences
Sometimes, resetting sound preferences can fix the issue. Here’s how:
- Open System Preferences.
- Select Sound.
- Click on the Output tab.
- Choose Internal Speakers as the output device.
- Restart your Mac.
- Go back to Sound preferences and select your headphones again.
Check if the auto-switching issue is resolved. Resetting sound preferences can often help fix minor glitches.
Contacting Support
If the problem persists, contact Apple Support. They can provide detailed assistance. Here’s how:
- Visit the Apple Support website.
- Click on Contact Support.
- Choose the Mac option.
- Select Sound issues.
- Follow the on-screen instructions to get help.
Apple Support can guide you through more advanced troubleshooting steps.
Frequently Asked Questions
How Do I Stop My Mac From Switching Audio Devices?
To stop your Mac from switching audio devices, go to System Preferences. Select Sound, then uncheck “Automatically switch to new devices. “
Can I Disable Headphone Auto-switching On Mac?
Yes, you can disable it. Go to System Preferences, then Sound. Uncheck the “Automatically switch to new devices” option.
Why Does My Mac Keep Switching Audio Output?
Your Mac switches audio output automatically for convenience. To disable this feature, adjust settings in System Preferences under Sound.
How Do I Change Headphone Settings On Mac?
To change headphone settings, open System Preferences, select Sound, and adjust settings under the Output tab.
Conclusion
Disabling auto-switching of headphones on your Mac is simple. Follow these steps to take control. Enjoy seamless audio without interruptions. Your music, calls, and videos will play exactly where you want. No more unexpected switches. Adjusting settings ensures a smooth experience.
Now, you can focus on what matters most. Your Mac and headphones work better together. With these tips, manage your audio easily. Happy listening!